Related Products Manager
Installation
Help
This app comes with FREE installation by the MageWorx Shopify professionals. All you need to do to get the app on your store is to submit a request by hitting the button below. Please, bear in mind that usually, we install the app within 24 hours (on business days). Alternatively, you can install the extension on your own, following the instructions in this user guide.
Add Snippet File
In your theme, open the Snippets folder, and add a new snippet named mw_upsell_objects. Fill it in with the code from below and save.
{% capture cartTags %}{% for item in cart.items %}{{ item.product.tags | json }}{% if forloop.last == false %}^|^MW^|^{% endif %}{% endfor %}{% endcapture %}
{% assign cartTags = cartTags | split: "^|^MW^|^" %}
<script>
  window.mwUpsellObjects = {
    product: {{ product | json }},
    cart: {{ cart | json }},
    template_name: {{ template.name | json }},
    shop: {
      domain: {{ shop.permanent_domain | json }},
      money_format : {{ shop.money_format  | json }},
      money_with_currency_format : {{ shop.money_with_currency_format  | json }}
      },
    cart_tags: {{ cartTags | json }}
  };
</script>
When done, click Save.
Edit Layout/theme.liquid
At the next step, jump to Layout/theme.liquid file and search the code. Before the line:
</body>
enter:
{% include 'mw_upsell_objects' %}
Edit Template files
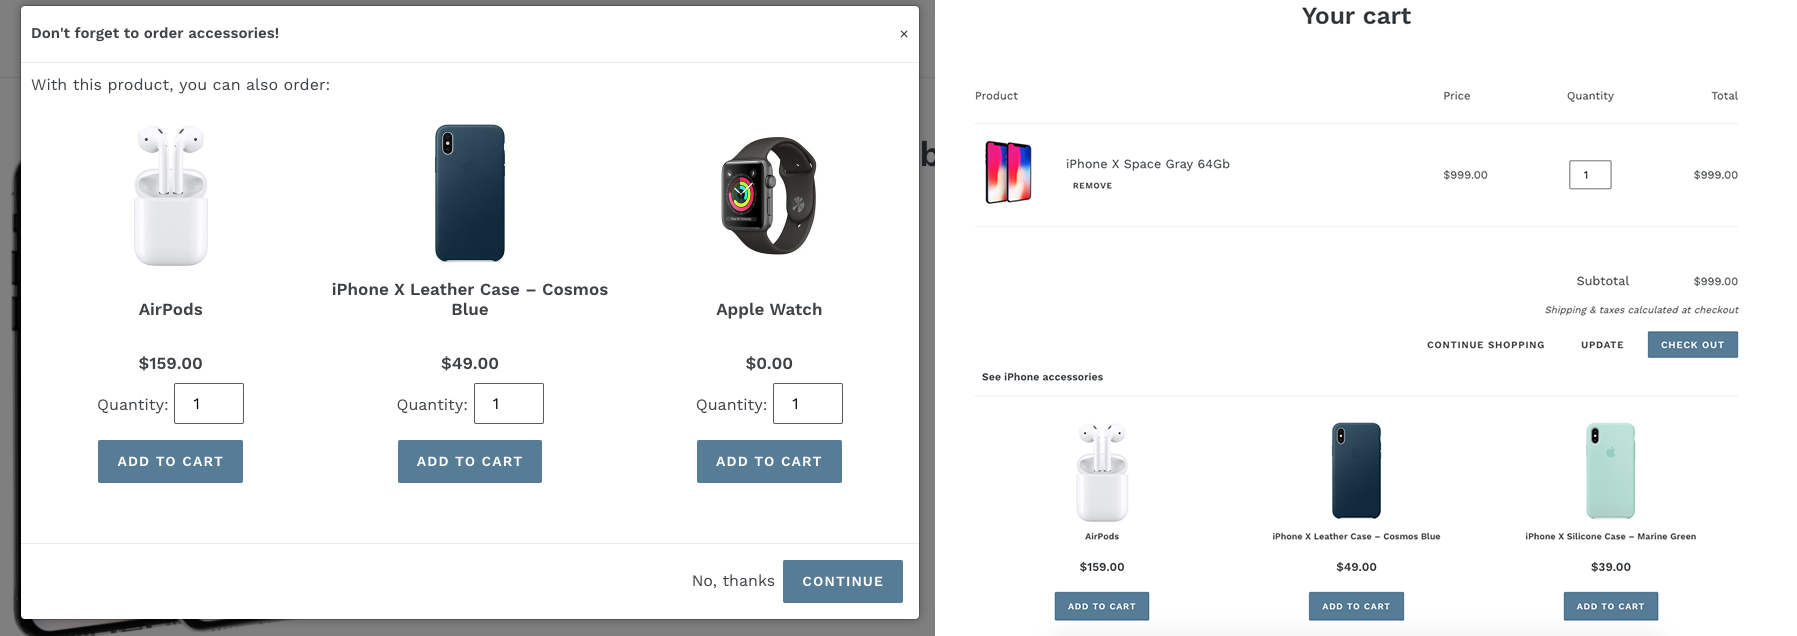
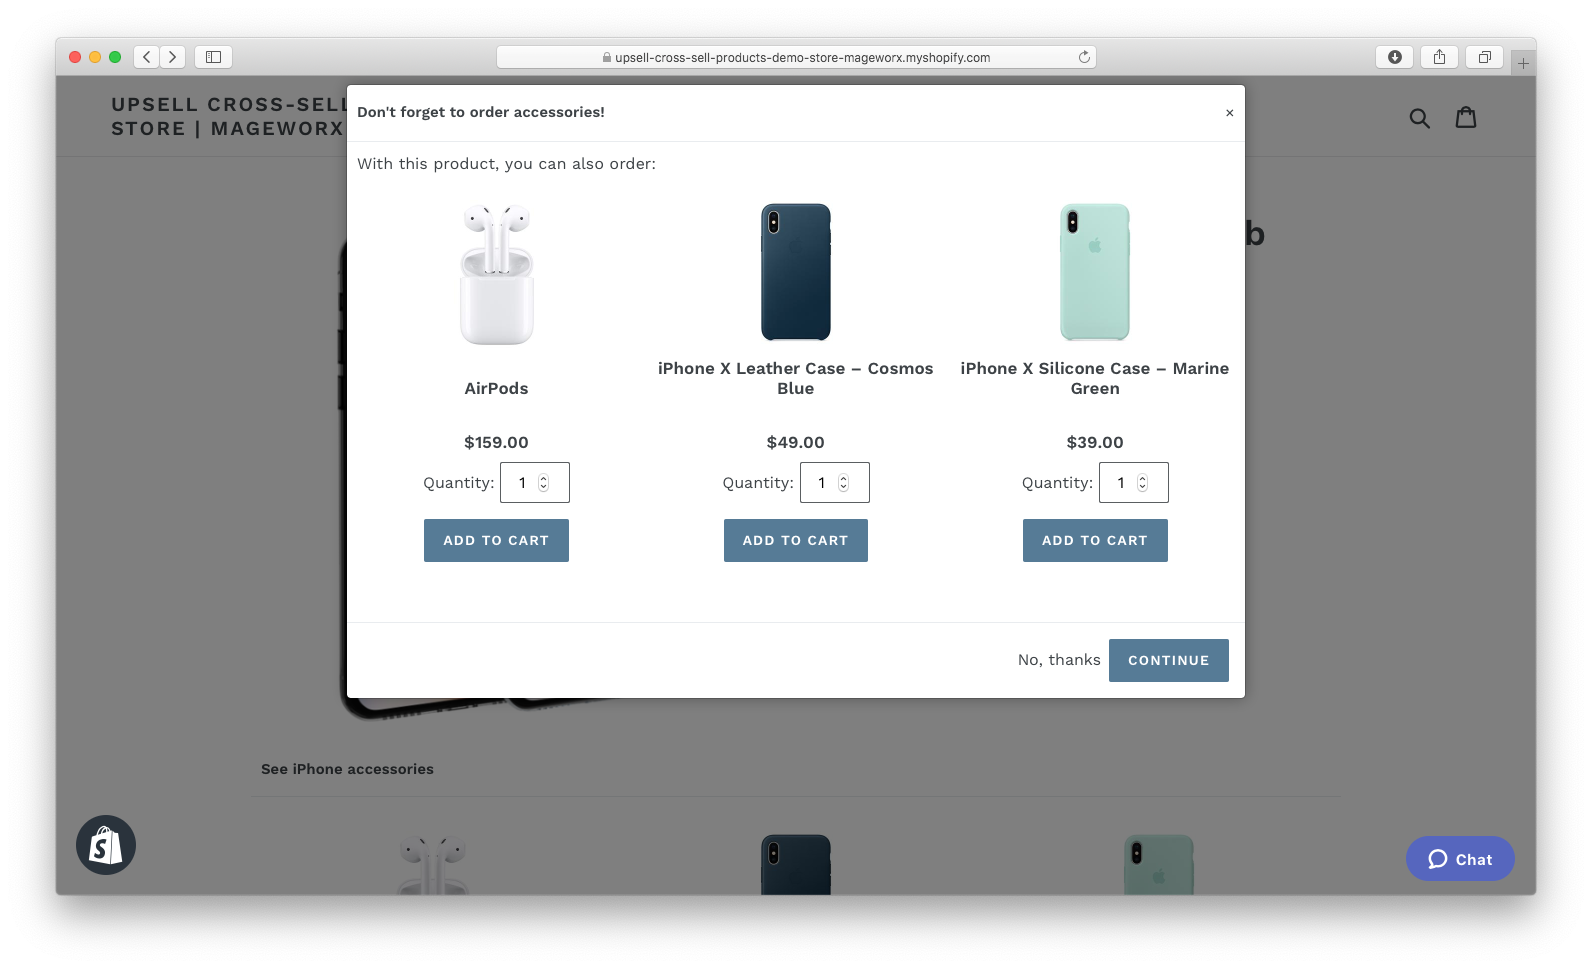
The app shows the upsell products either in the popup or in the HTML block directly on the product/cart page.
Note
Shopify has dozens of the themes, and it may be quite tricky to find the correct template file. In case of some difficulties, please do not hesitate to contact our support team for help.
To add the HTML block on the product page, please try to find the Template that should provide the reference to the 'product', like product.liquid, product-template.liquid or such.
To add the HTML block on the cart, please try to find the Template that should provide the reference to the 'cart,' like cart.liquid, cart-template.liquid or such.
Add the code:
<div id="mw-upsell-container"></div>
to the desired location.
Managing Cross-Sell Offers
After you’ve set and saved the cross-sell offer, it appears in this grid:
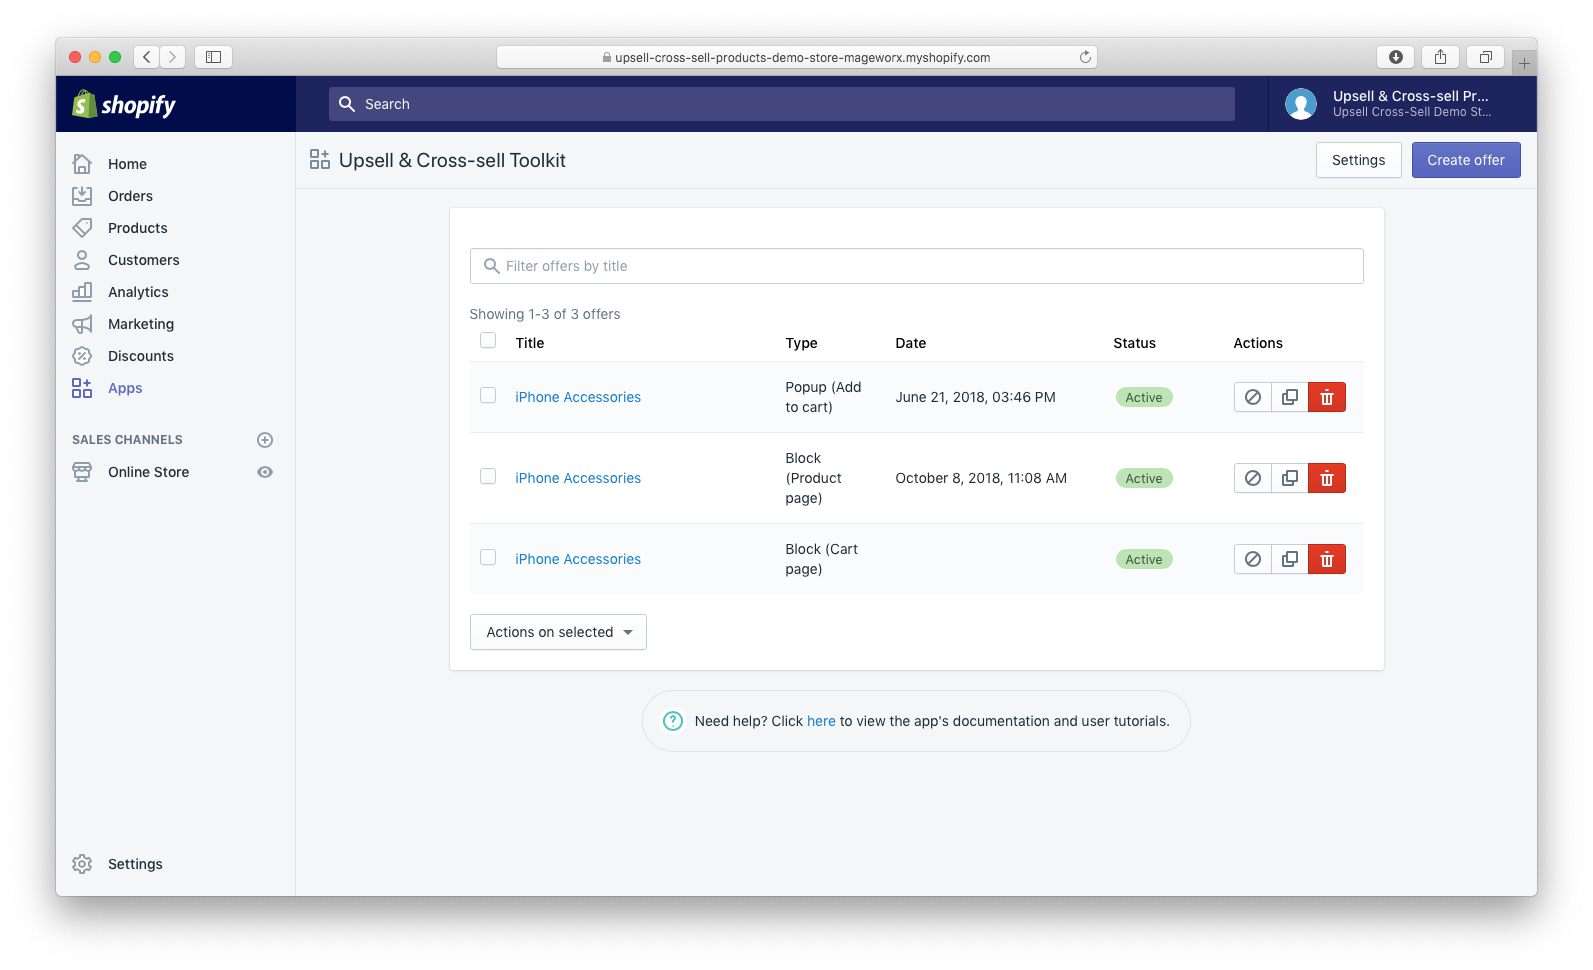
From here, you can conveniently overview and manage all your popups/HTML blocks:
- enable/disable them,
- duplicate,
- delete the ones you no longer need.
Creating a new Offer Template
To create a new Offer Template, follow the steps below:
- Go to the app's settings grid (by default, the grid is empty),
- Click the Create offer button,
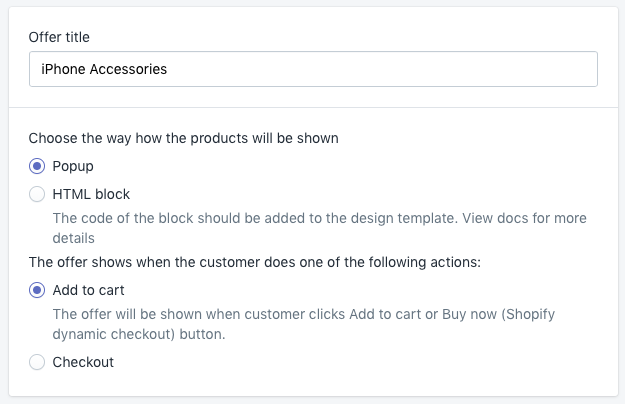
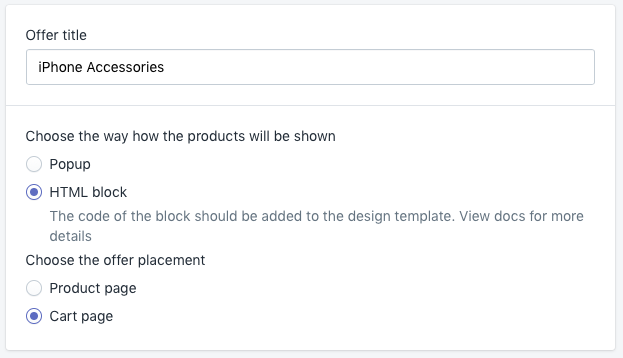
- Specify the template name,
- Select the way/place to display your cross-sell offer. The following display options are available:
- Popup
- HTML block
If the popup option is selected, the offer will be displayed either when the customer clicks Add to cart/Buy now (Shopify dynamic checkout) button on the product page or when the customers clicks the Checkout button on the shopping cart page or any other store page with the AJAX cart.
The HTML block can be placed either on the product or the shopping cart page.

At the next step, specify the targeted and products to promote.
- Targeted products are the products you add special upsell/cross-sell offers for.
- Promoted products are the products you display in the upsell/cross-sell popup.
The Targeted products can be selected in one of the ways described below:
- Mass-selection of ALL products in store,
- By setting display conditions. The conditions are created by analogy with those that are set up for automated product collections. Click here to learn more.
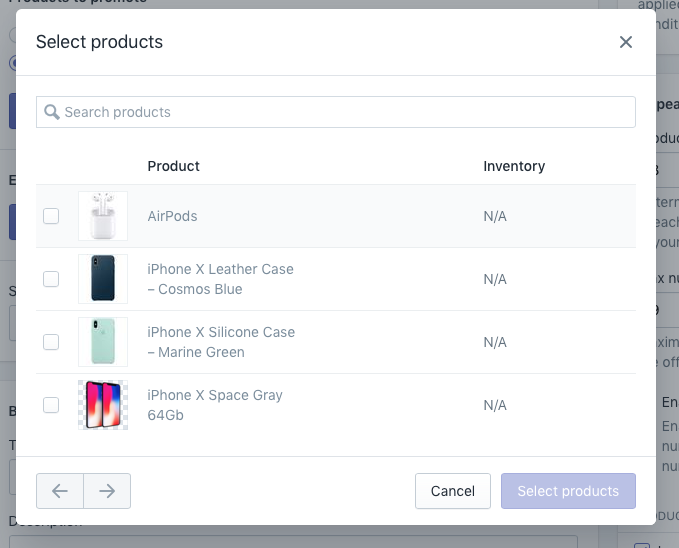
- Manual pick up from the product list.
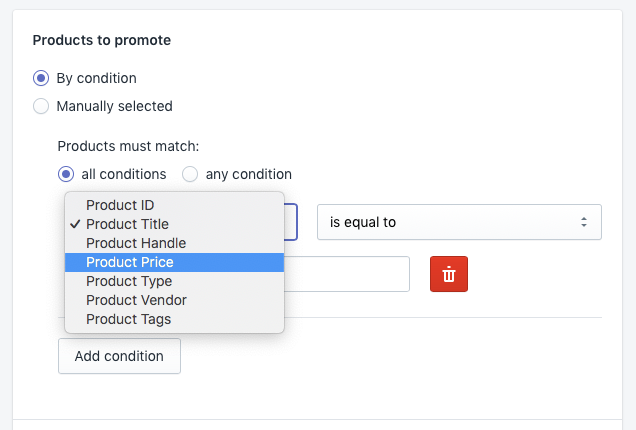
The Products to Promote can be selected in one of these ways:
-
By condition,

-
Manually.
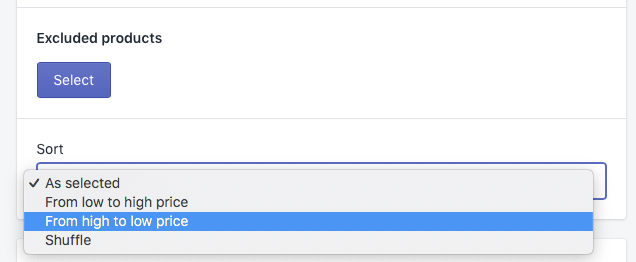
Further, you can manage the selected products: manually exclude any item, sort all items by price or shuffle them.
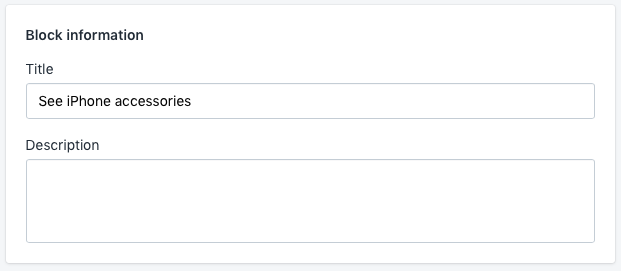
Next, you can specify the popup/HTML block title and description. It can be done here:
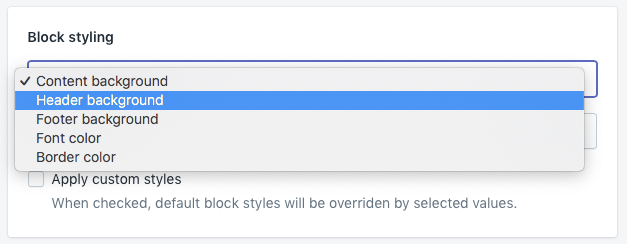
At the last step, stylize you popup. With the app, you can set the colors for the popup/HTML block:
- header/content/footer backgrounds,
- font,
- borders.
Also, under these settings, you can also apply any custom style.
Сlick the Save button to apply the template's configuration. The offer gets activated automatically.
Extra settings for Offers (Display, Appearance)
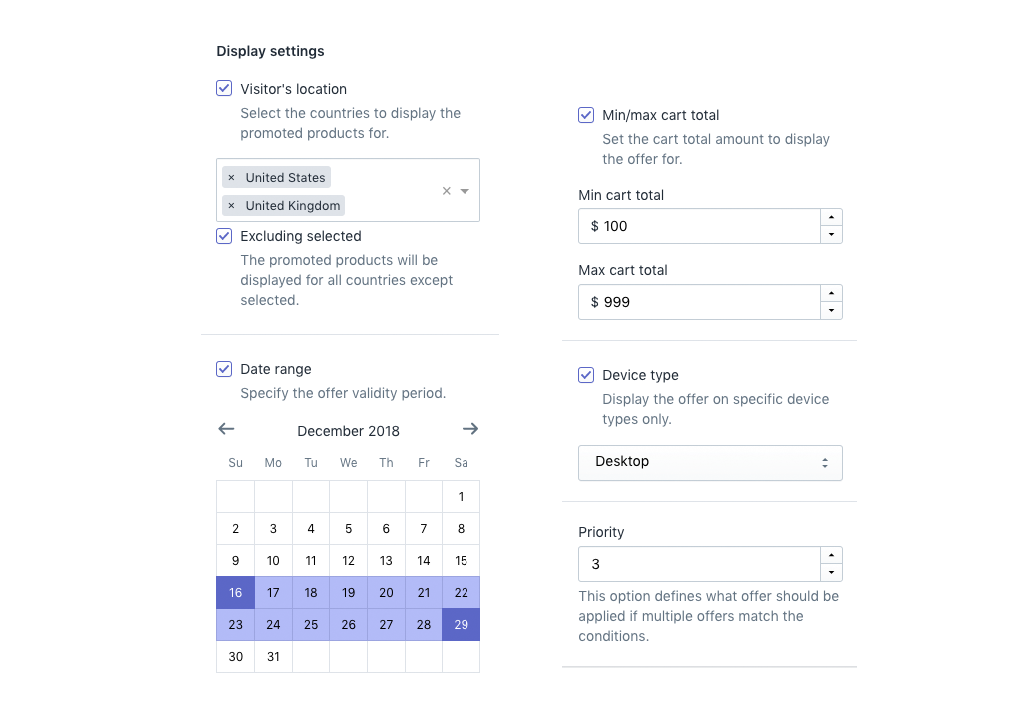
Also, under these settings, in the right-hand column, it's possible to further customize your cross-sell offer. They are set the same way both for the popup and HTML block.
You can opt to display the offer for certain locations, device types, min/max cart totals, as well as set the offer validity period.
Additionally, from here, it’s possible to define which offer should be applied if multiple offers match the conditions.
Below, in the appearance column, you can define how your cross-sell popup/HTML block will look.
It is possible to:
- determine the number of products shown in each row/slide (if the slider is enabled) in your offer,
- set the maximum number of products shown in the offer,
- enable the slider if the maximum number of products is more than the number of items shown per row.
Also, in this column you can specify which product attributes (image, price, variants, qty, etc.) to display or hide in the popup.

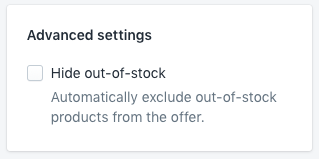
And in the last block in this column, you can opt to automatically hide/display any out-of-stock products.
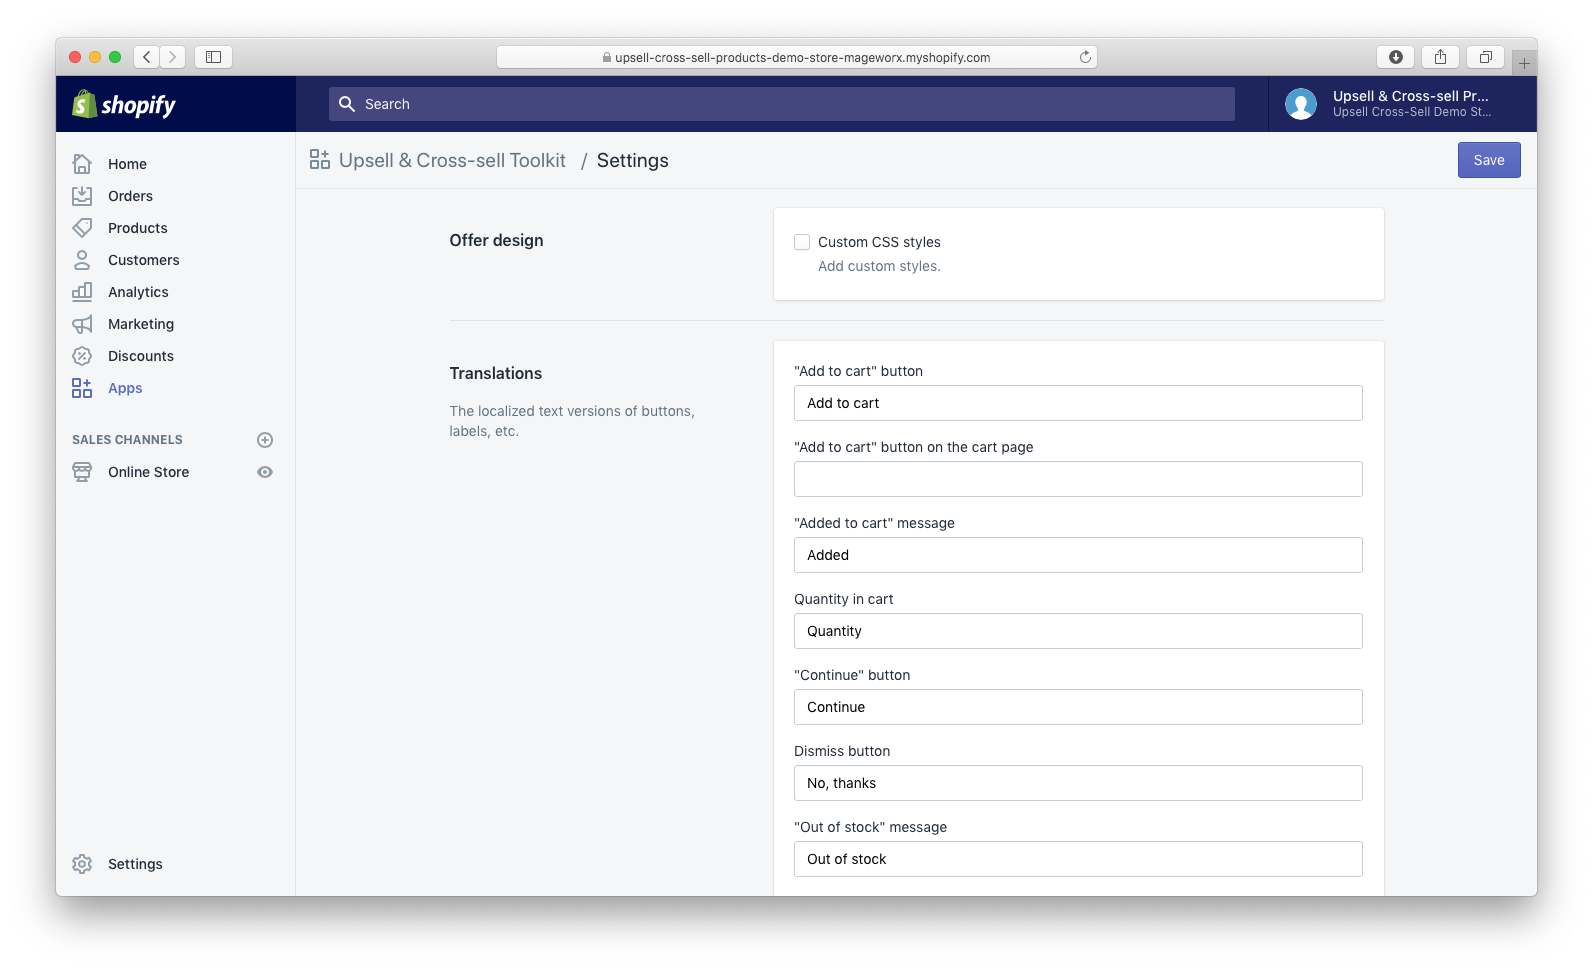
Global Settings
Under the app’s global settings, you can:
- add custom CSS styles of the cross-sell popup/HTML block,
- add translations for the popup text content (descriptions, buttons, labels, out-of-stock message, etc.) and thus localize it for any language used in your store.
Questions?
For any technical and pre-sale questions, feel free to contact us at apps@mageworx.com.